Waline
Mr.Hope ... 2021-5-16 About 2 min
Welcome to Waline. In just a few steps, you can enable Waline to provide comments and pageviews on your site.
# LeanCloud Settings (Database)
sign in (opens new window) or sign up (opens new window) LeanCloud and enter Console (opens new window).
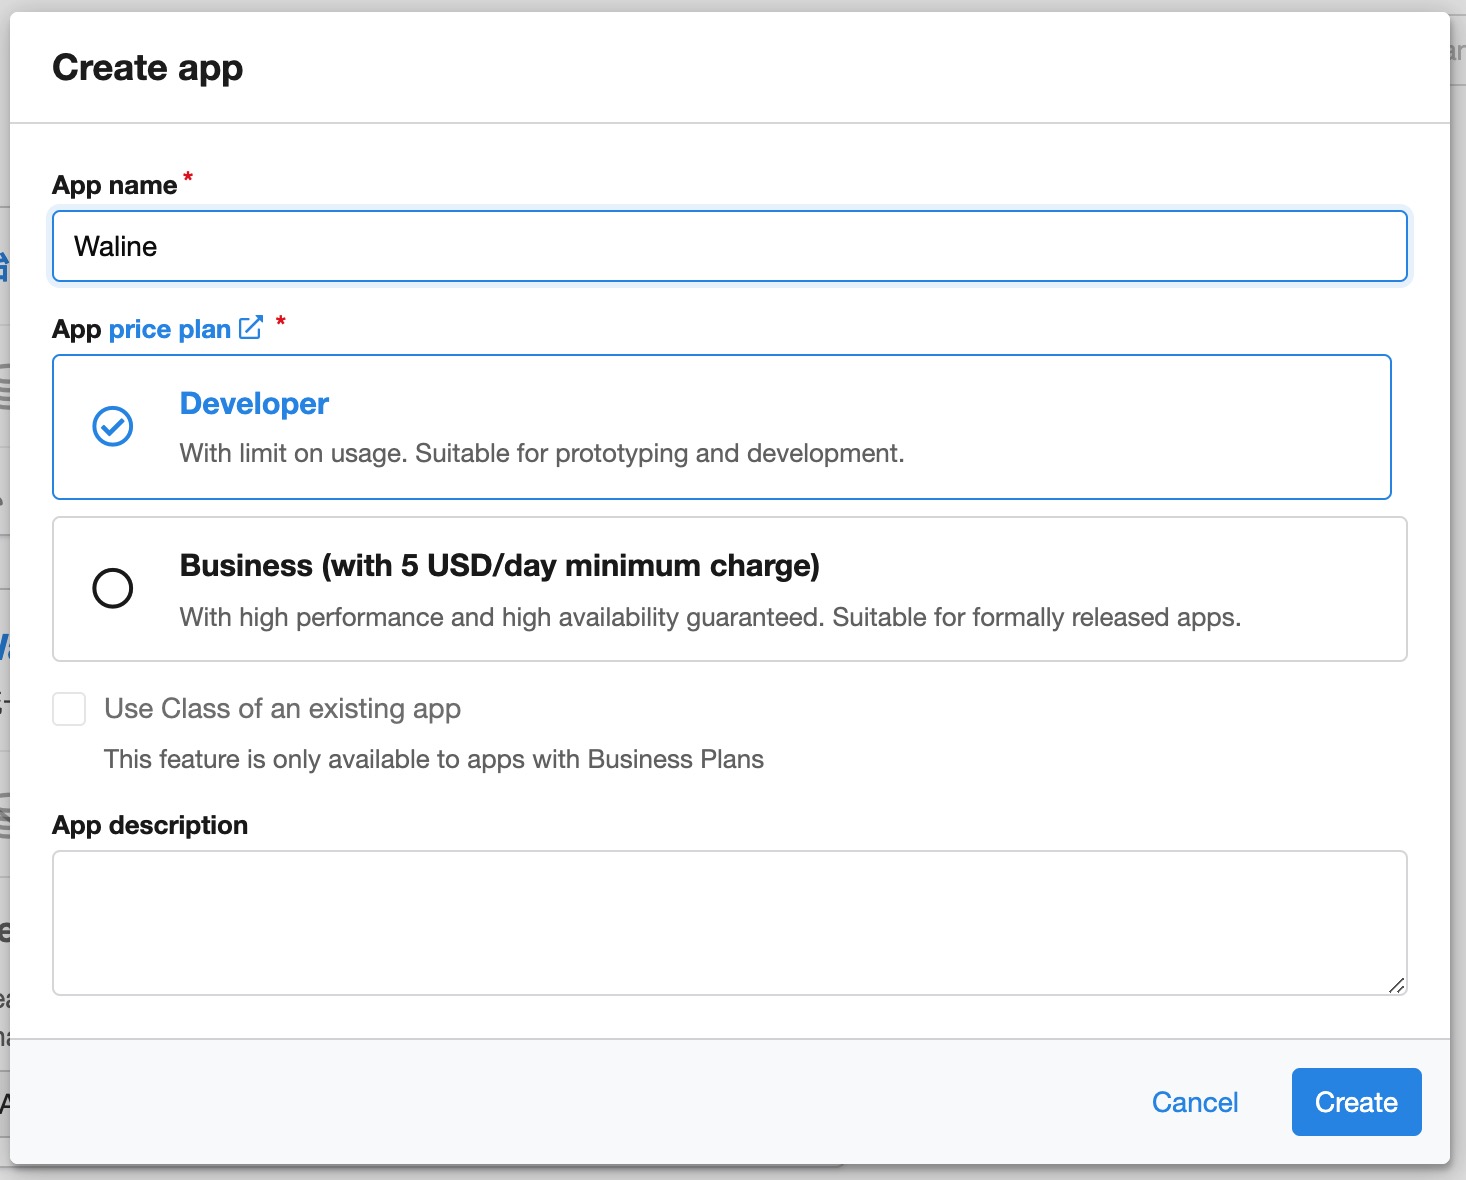
Click Create app (opens new window) button to create a new app and enter a name you like:
Enter the app, then select
Settings>App Keysat the left bottom corner. You will seeAPP ID,APP KeyandMaster Keyof your app. We will use them later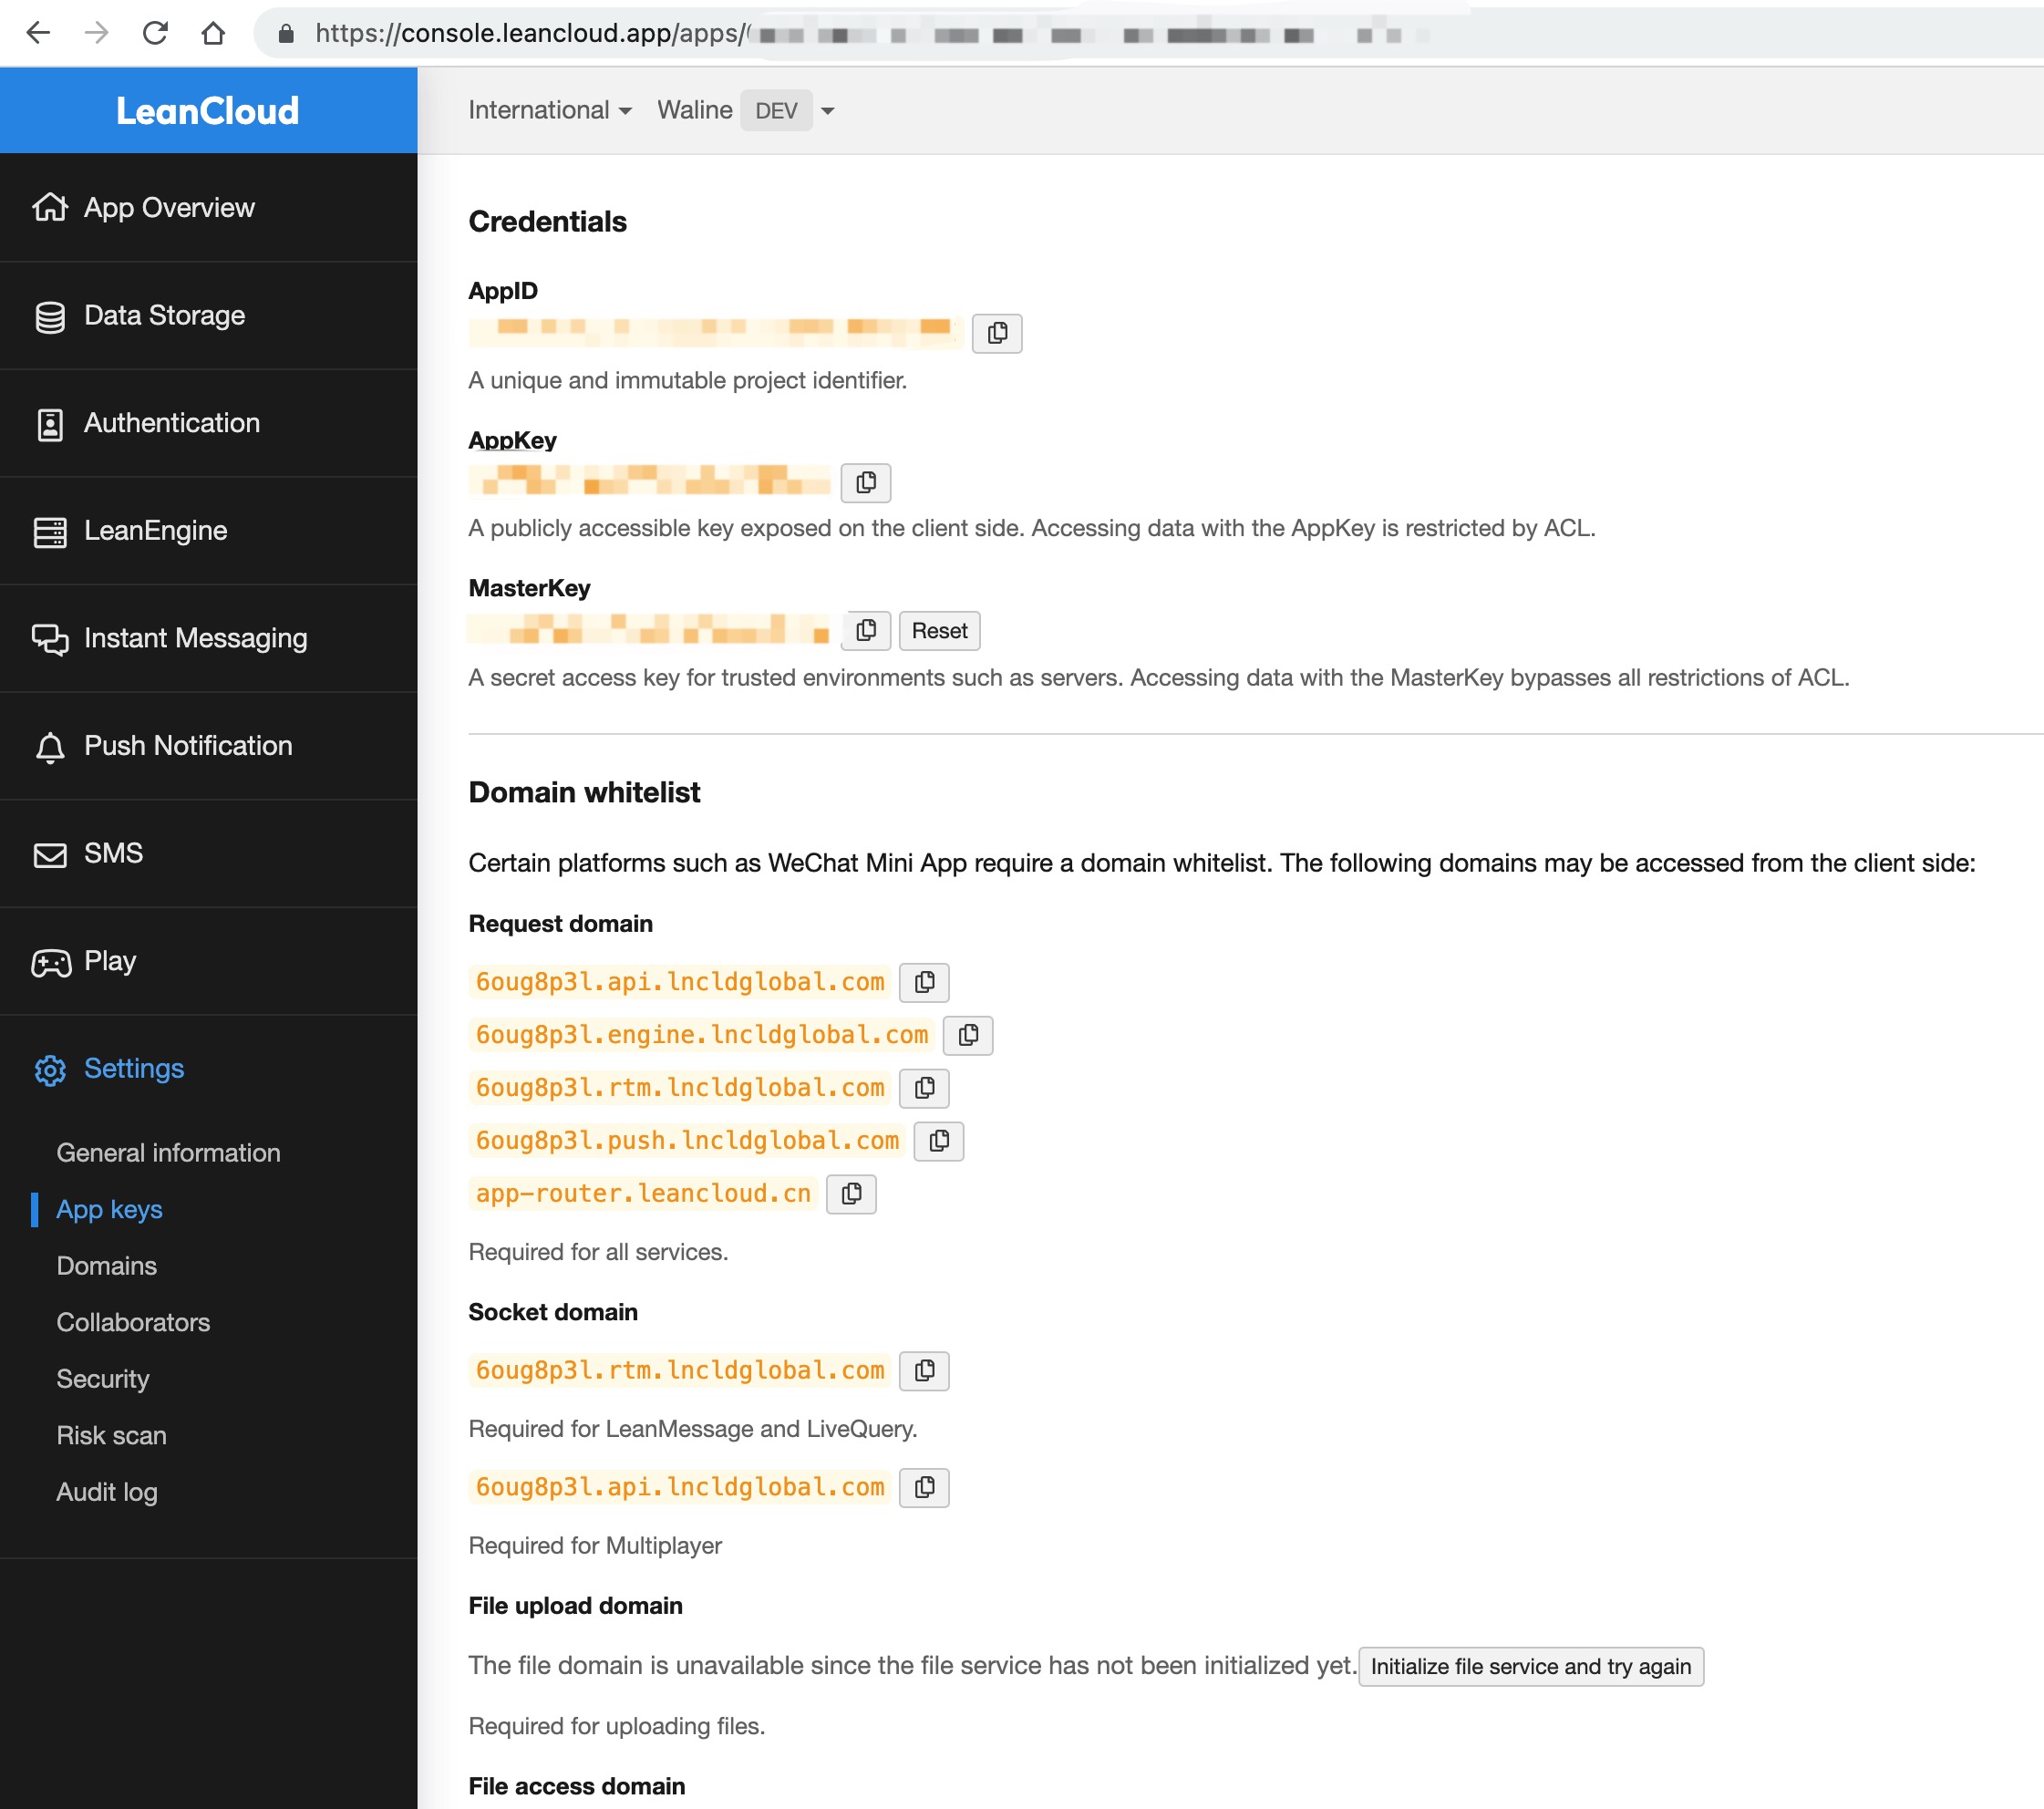
# Deploy to Vercel (Server)
Click the blue button above, it will redirect you to vercel to deploy with waline template.
If you haven’t logined, we recommend you to sign in with GitHub.
Input your Vercel project name then click
Create.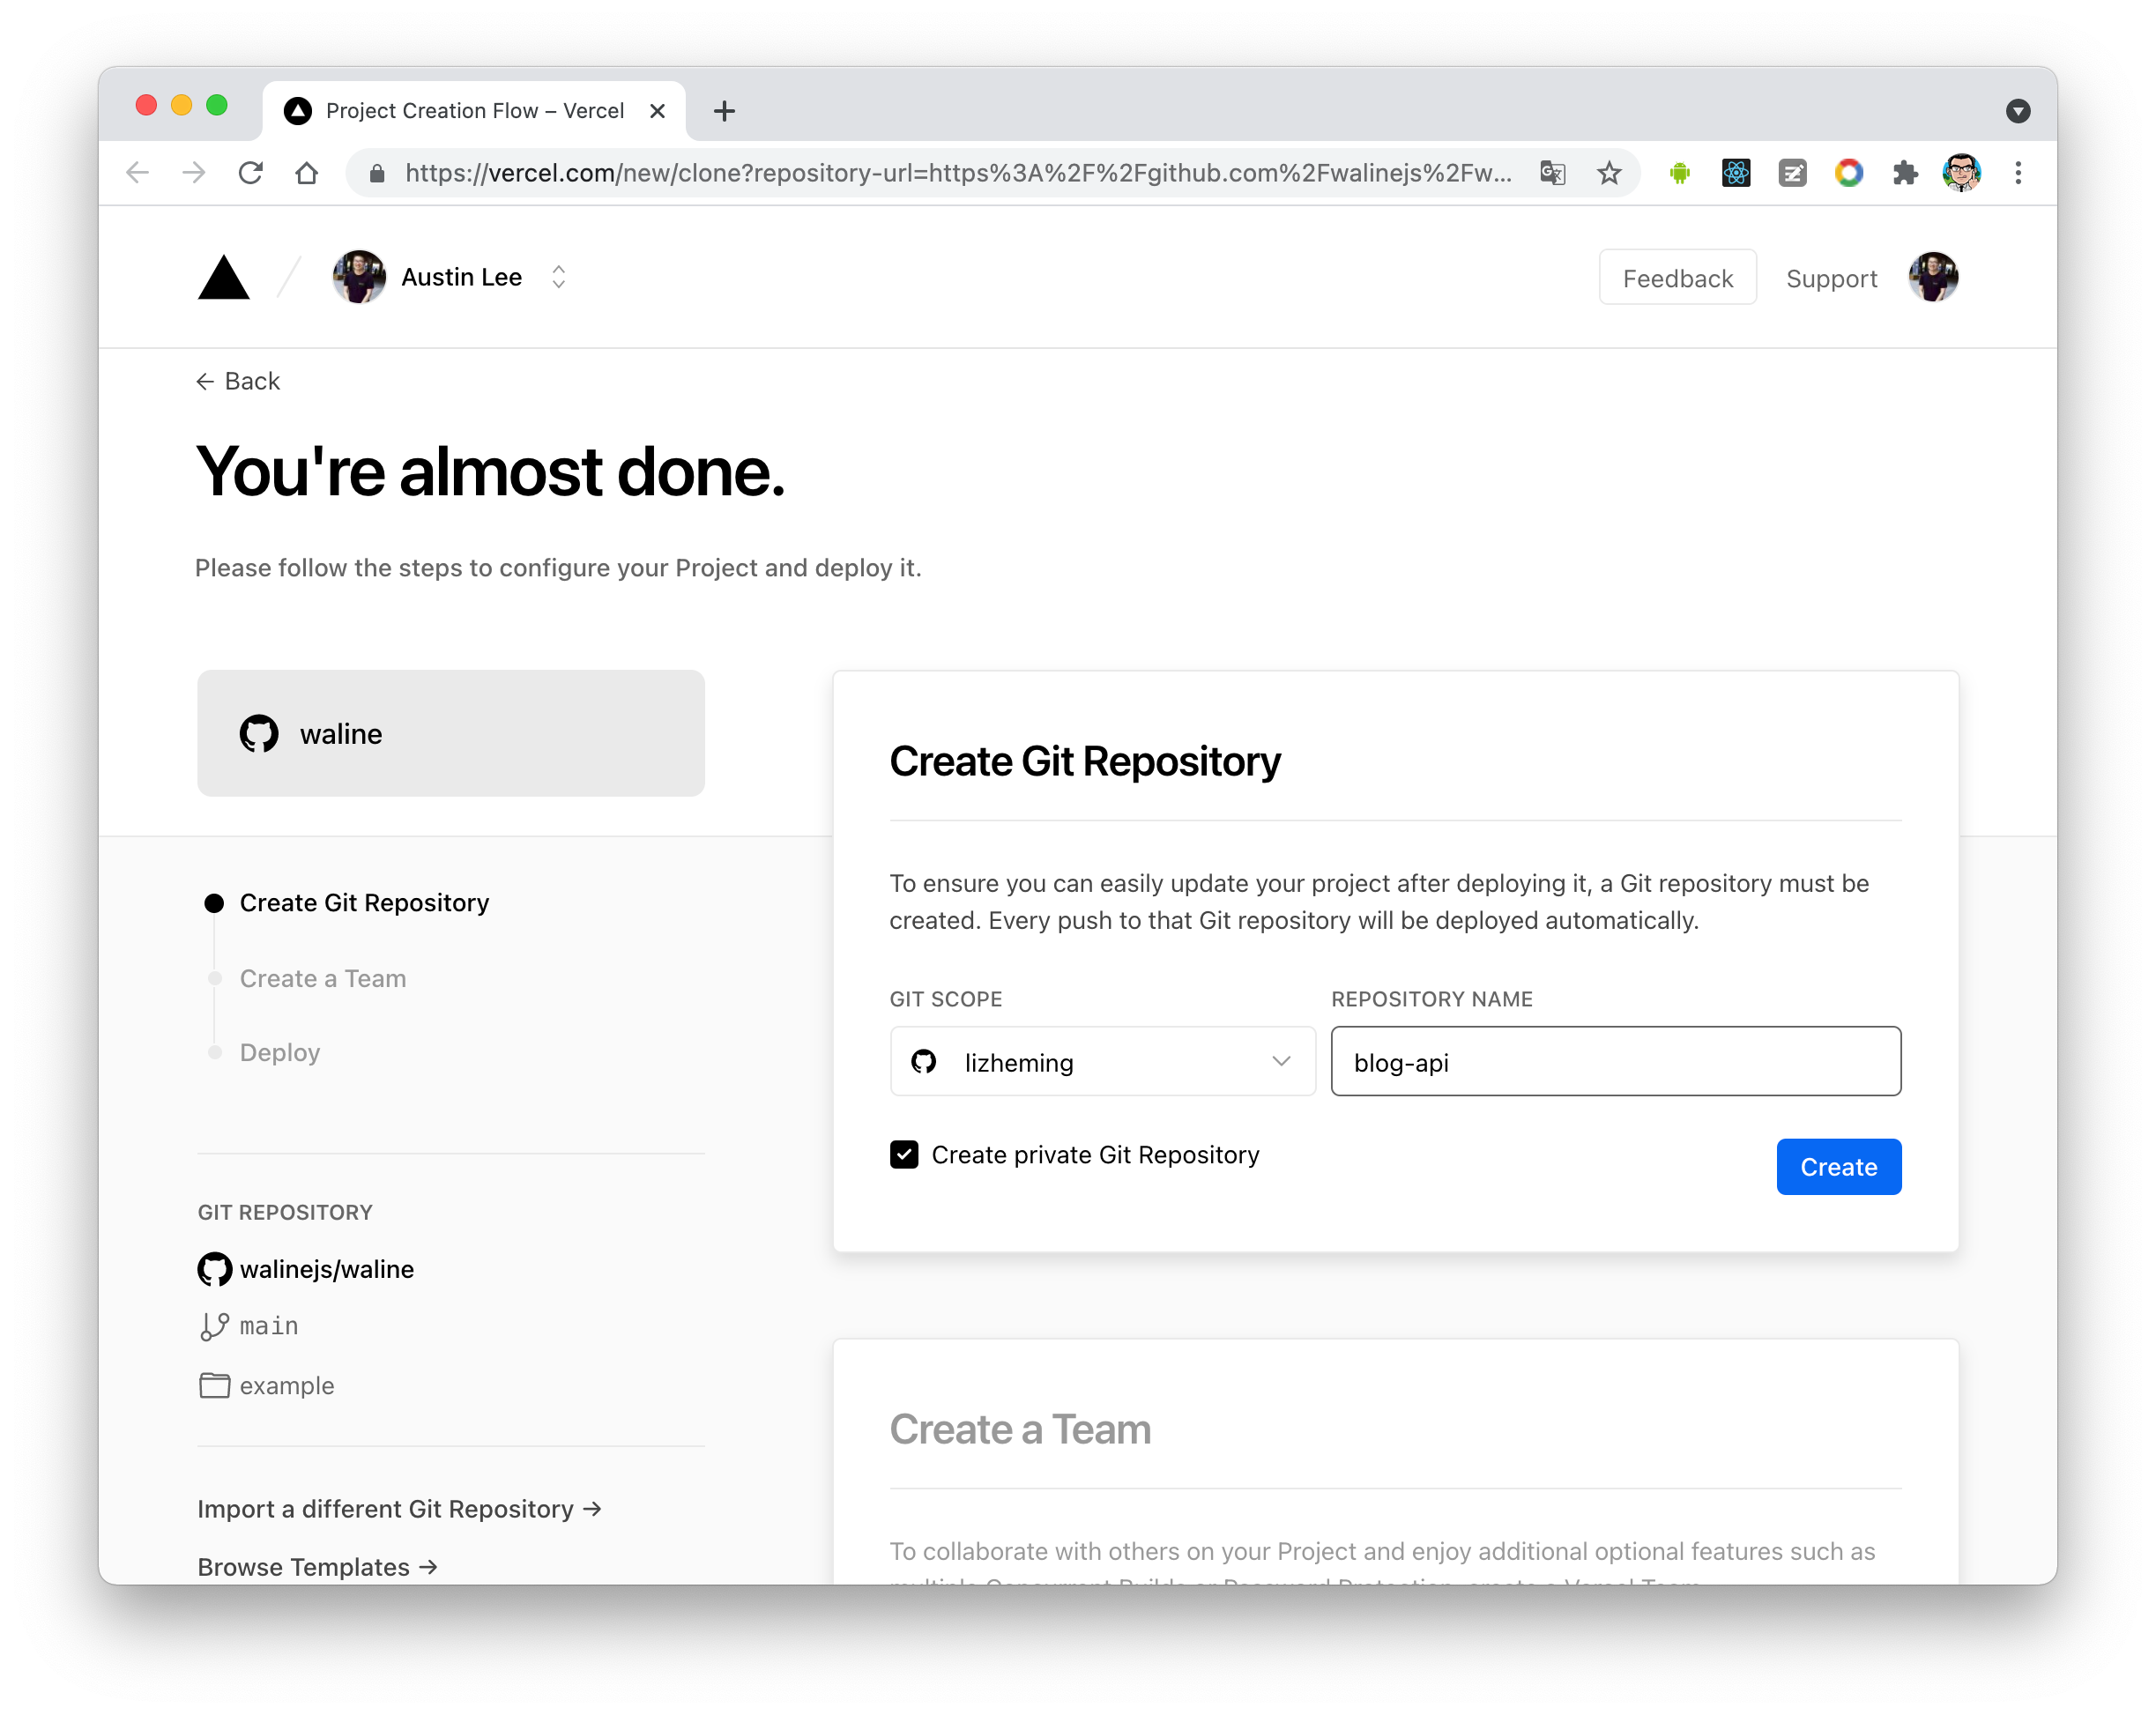
Then Vercel will let you create Vercel Team account, click
Skipand go on.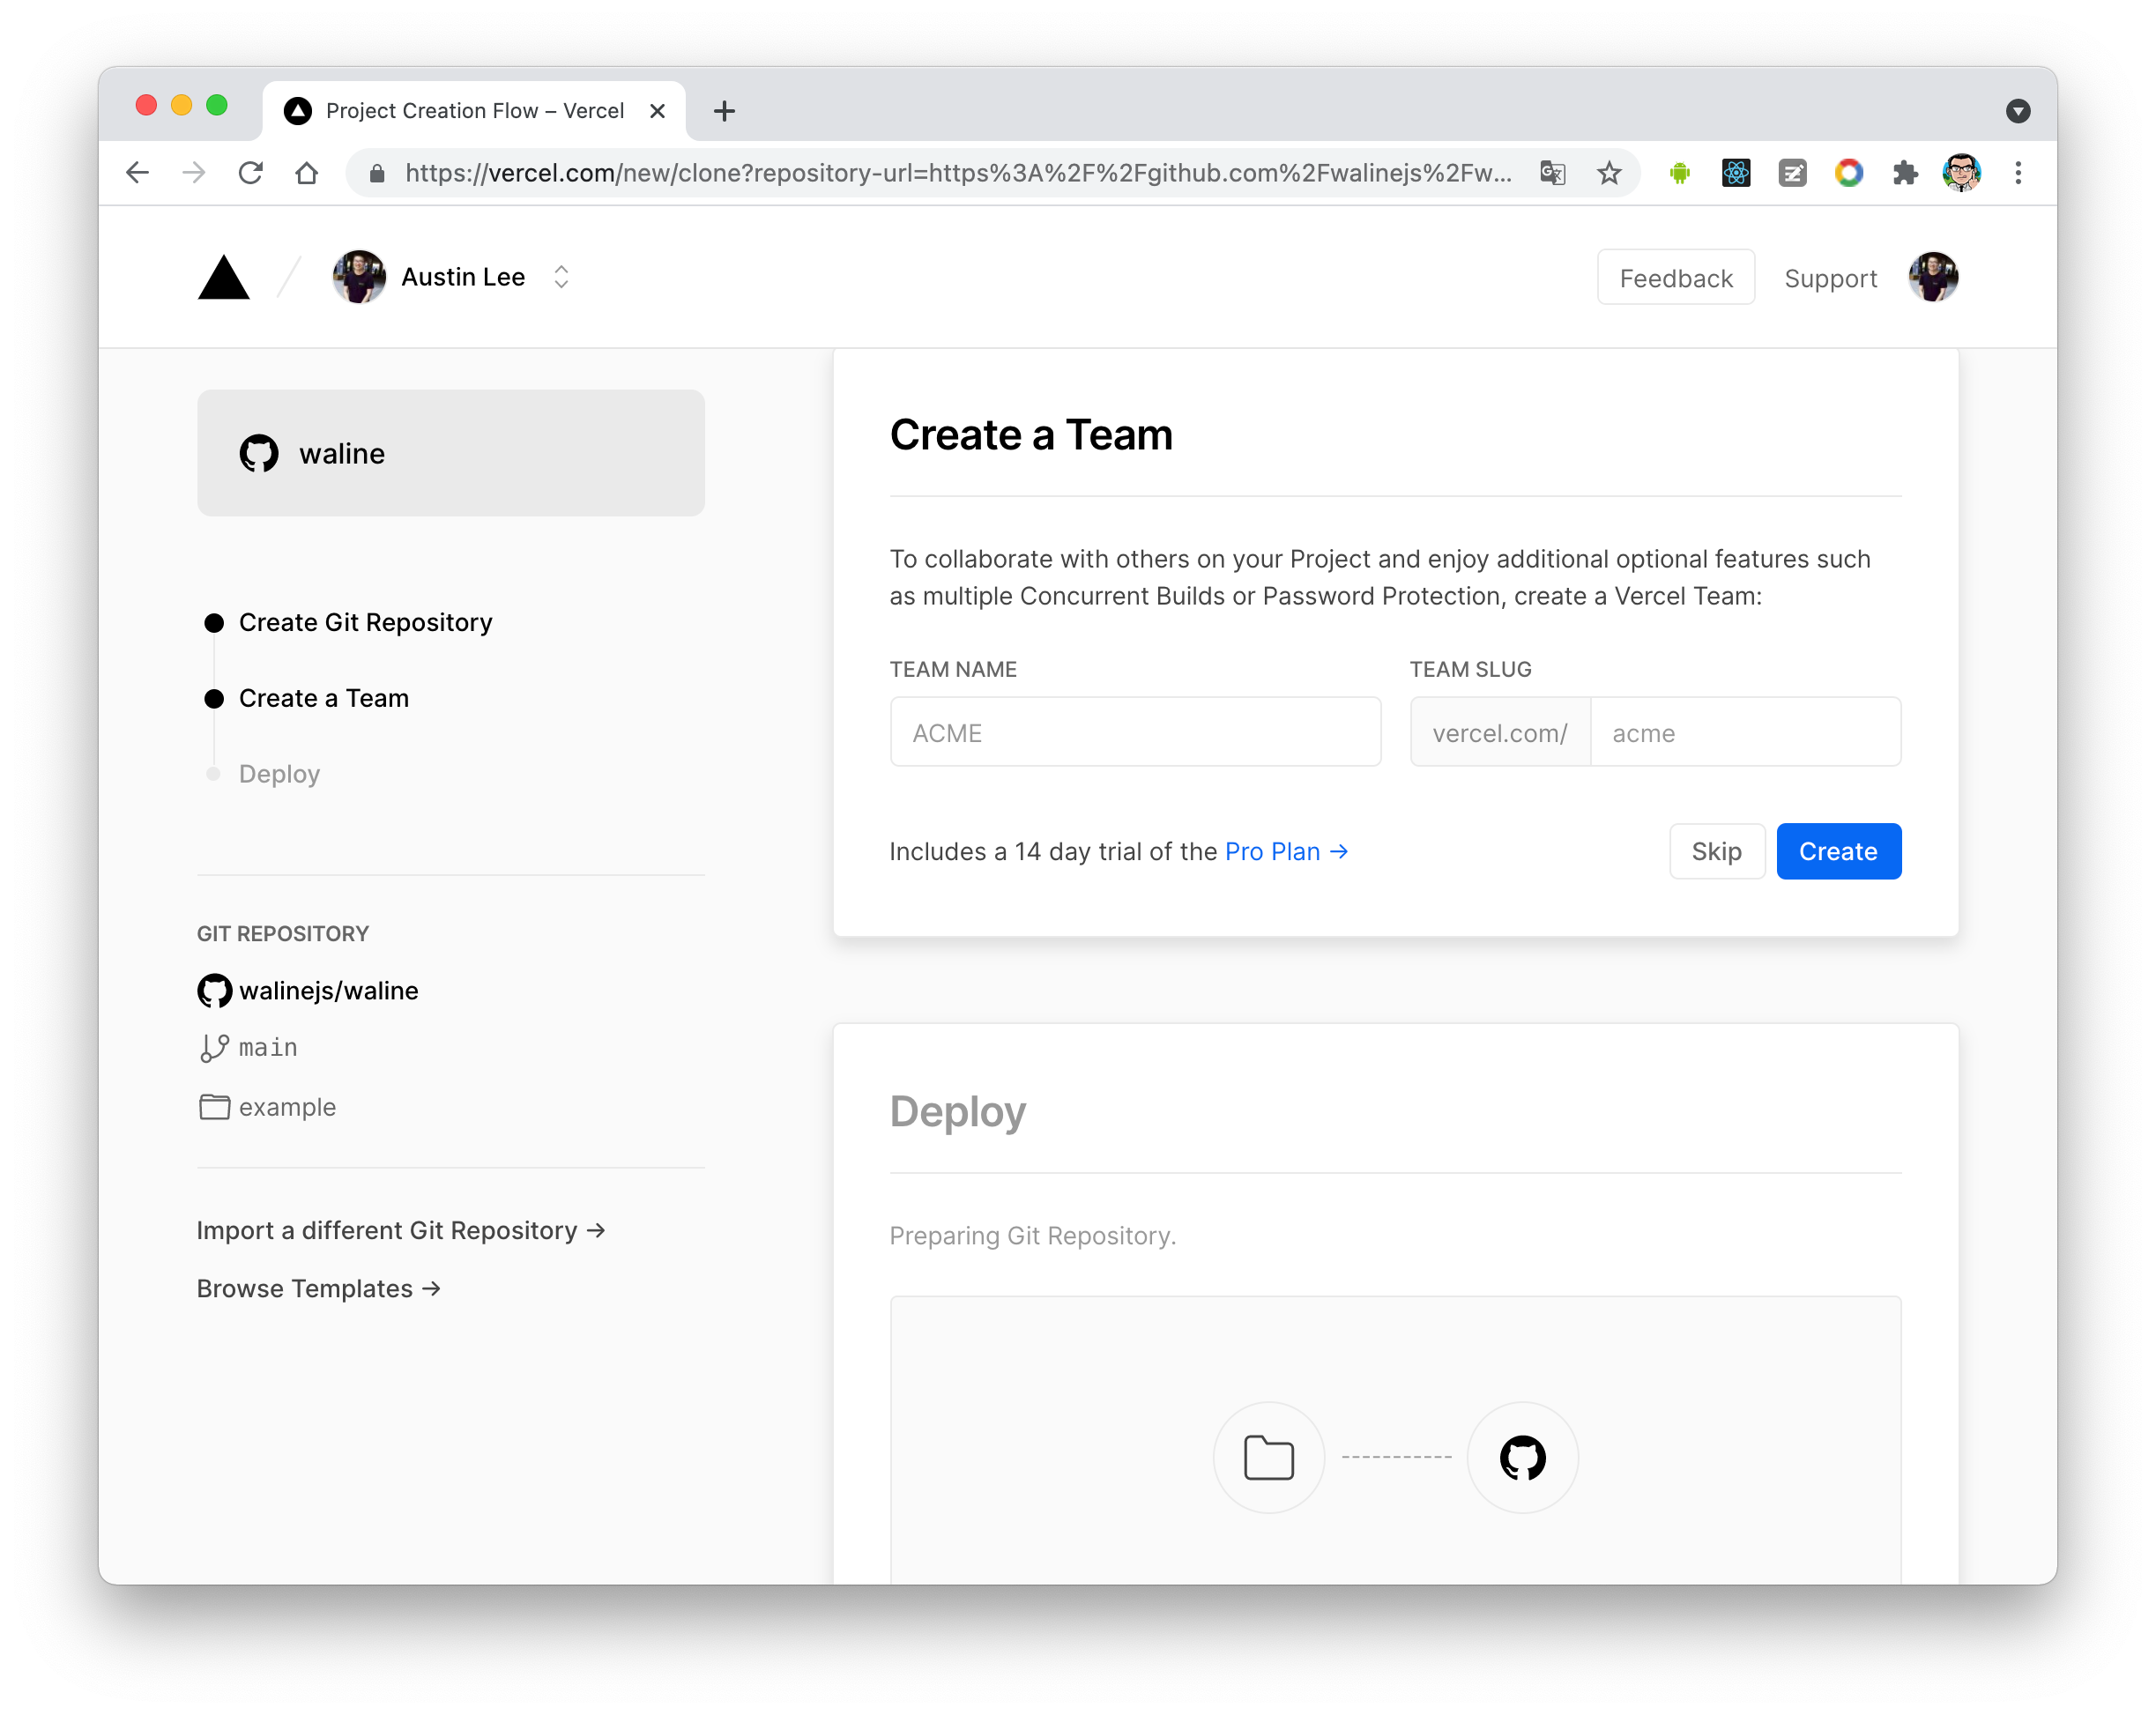
Repo which named you input before will be created and initiallized automatically base on waline example template by Vercel.
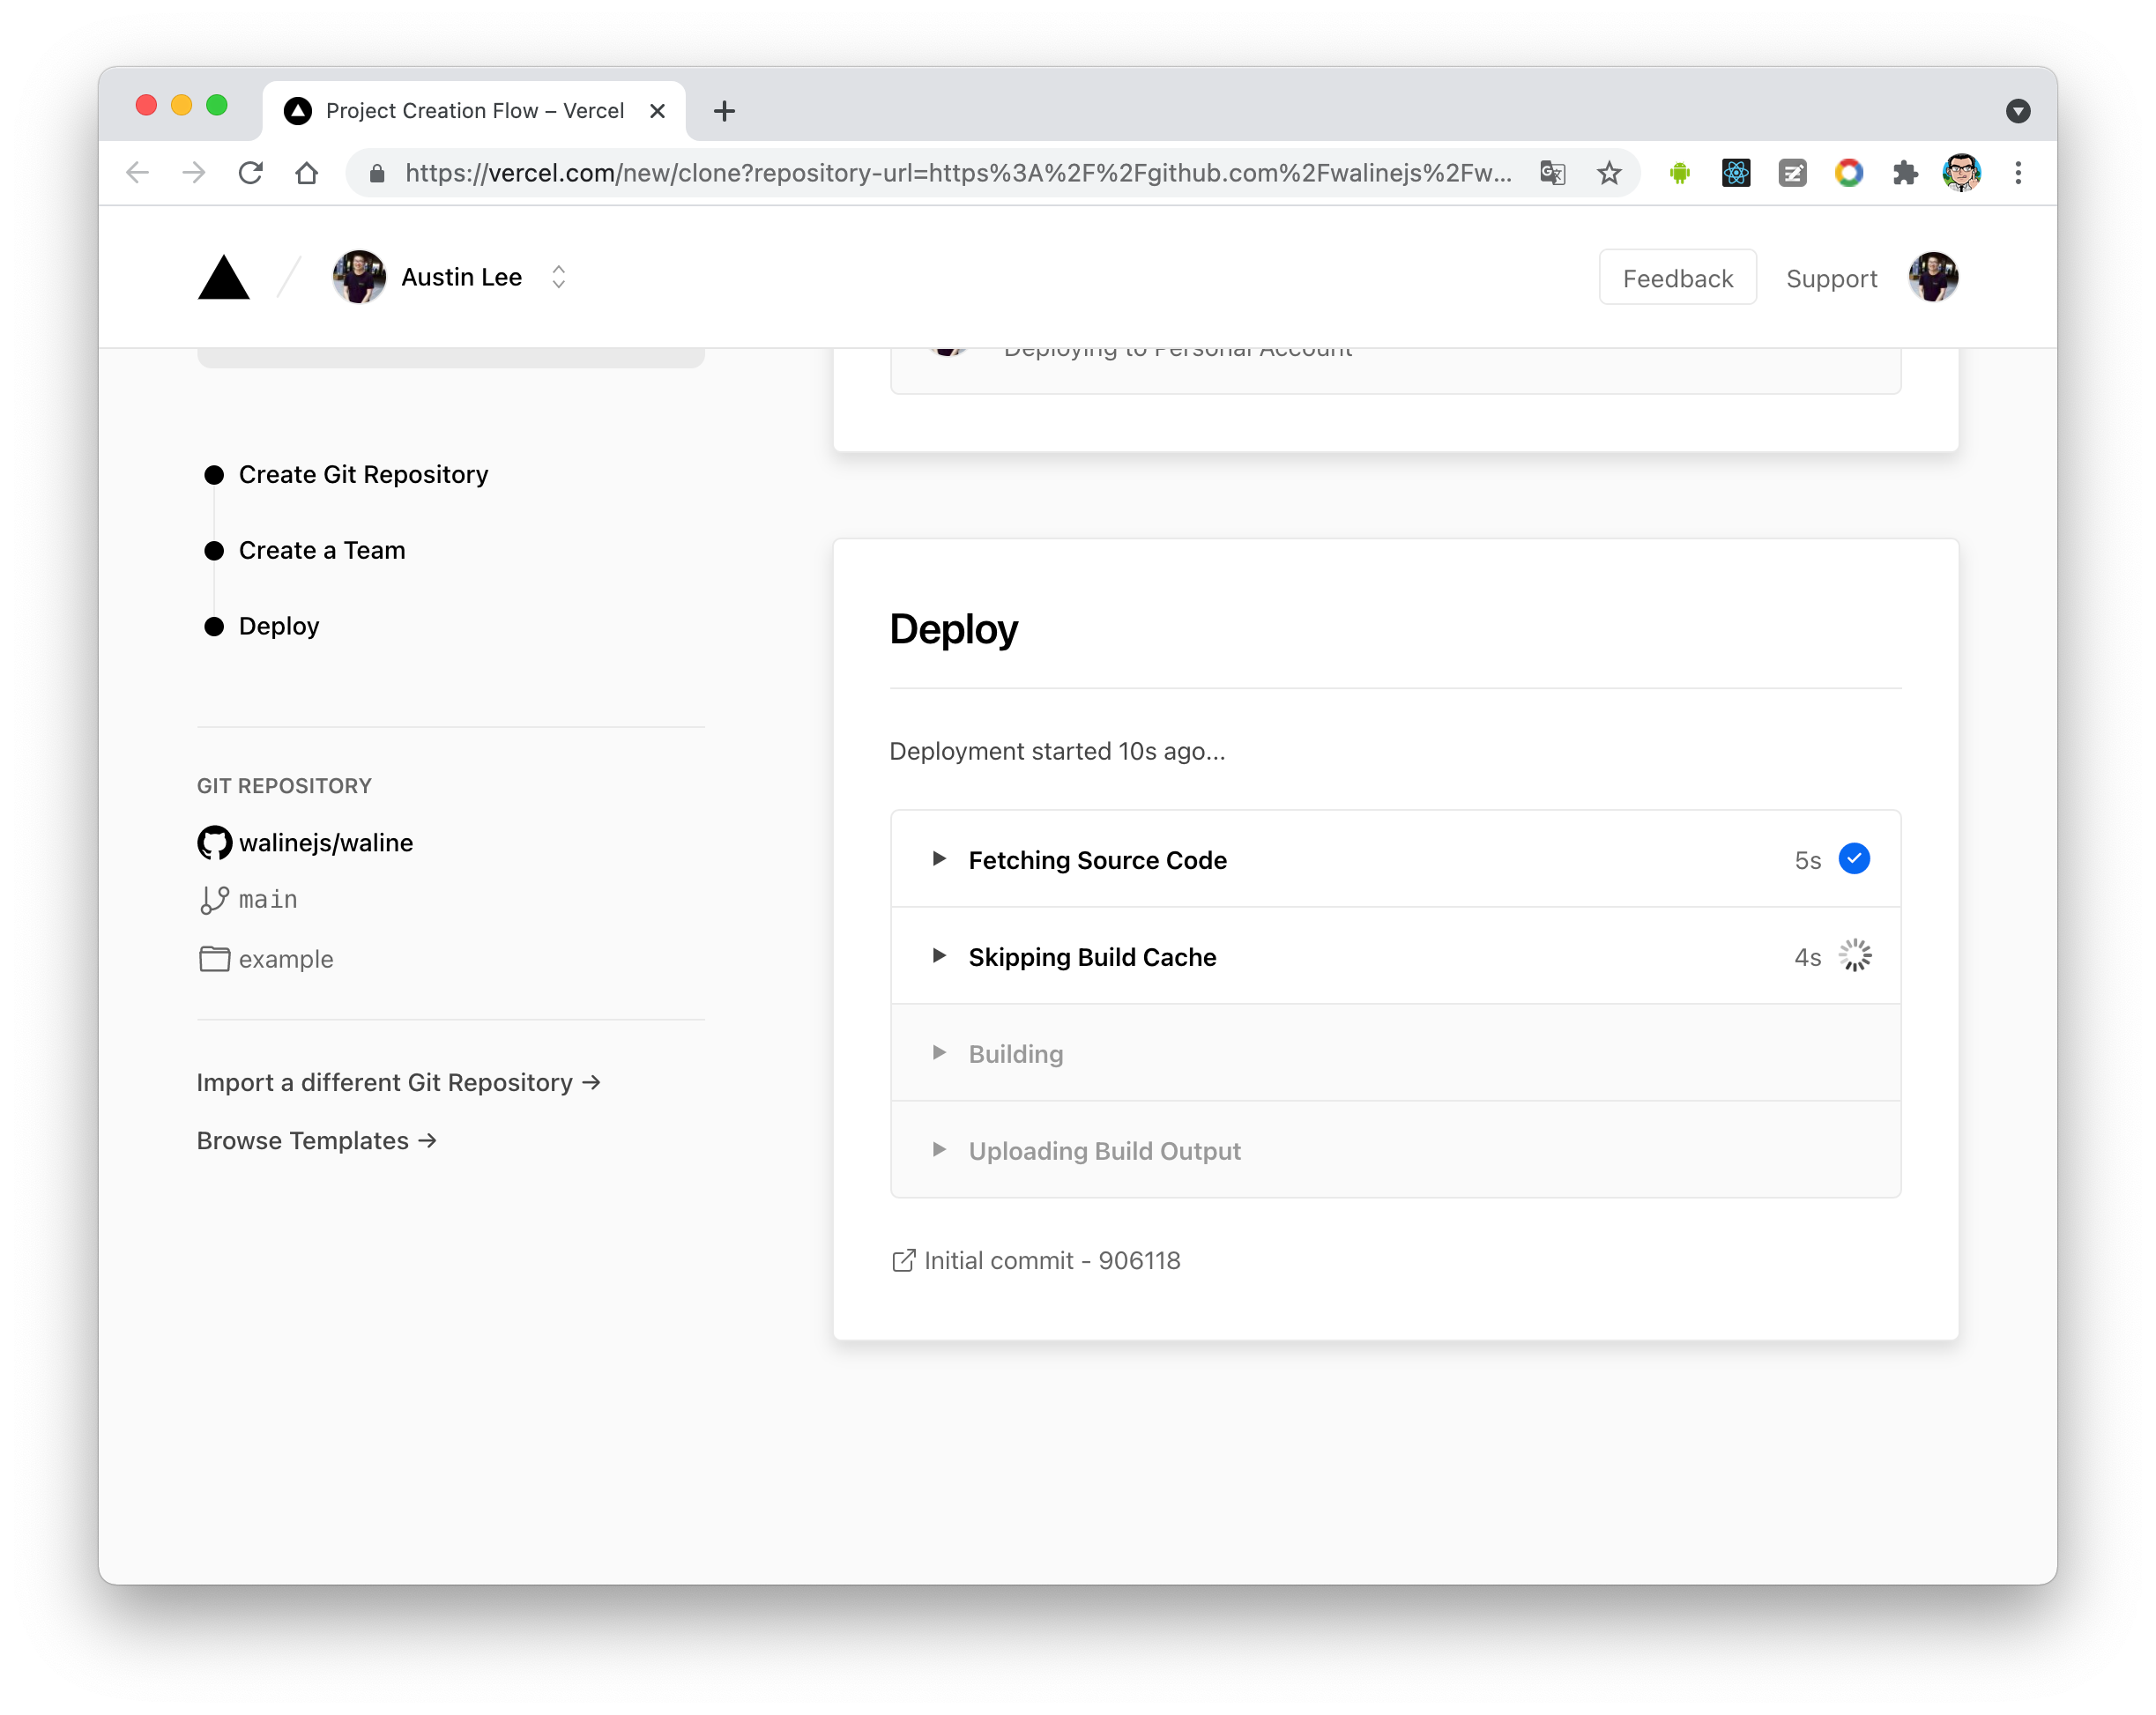
After one minute or two, vercel should finish the deployment. Click
Go to Dashboardbutton to redirect to your application dashboard.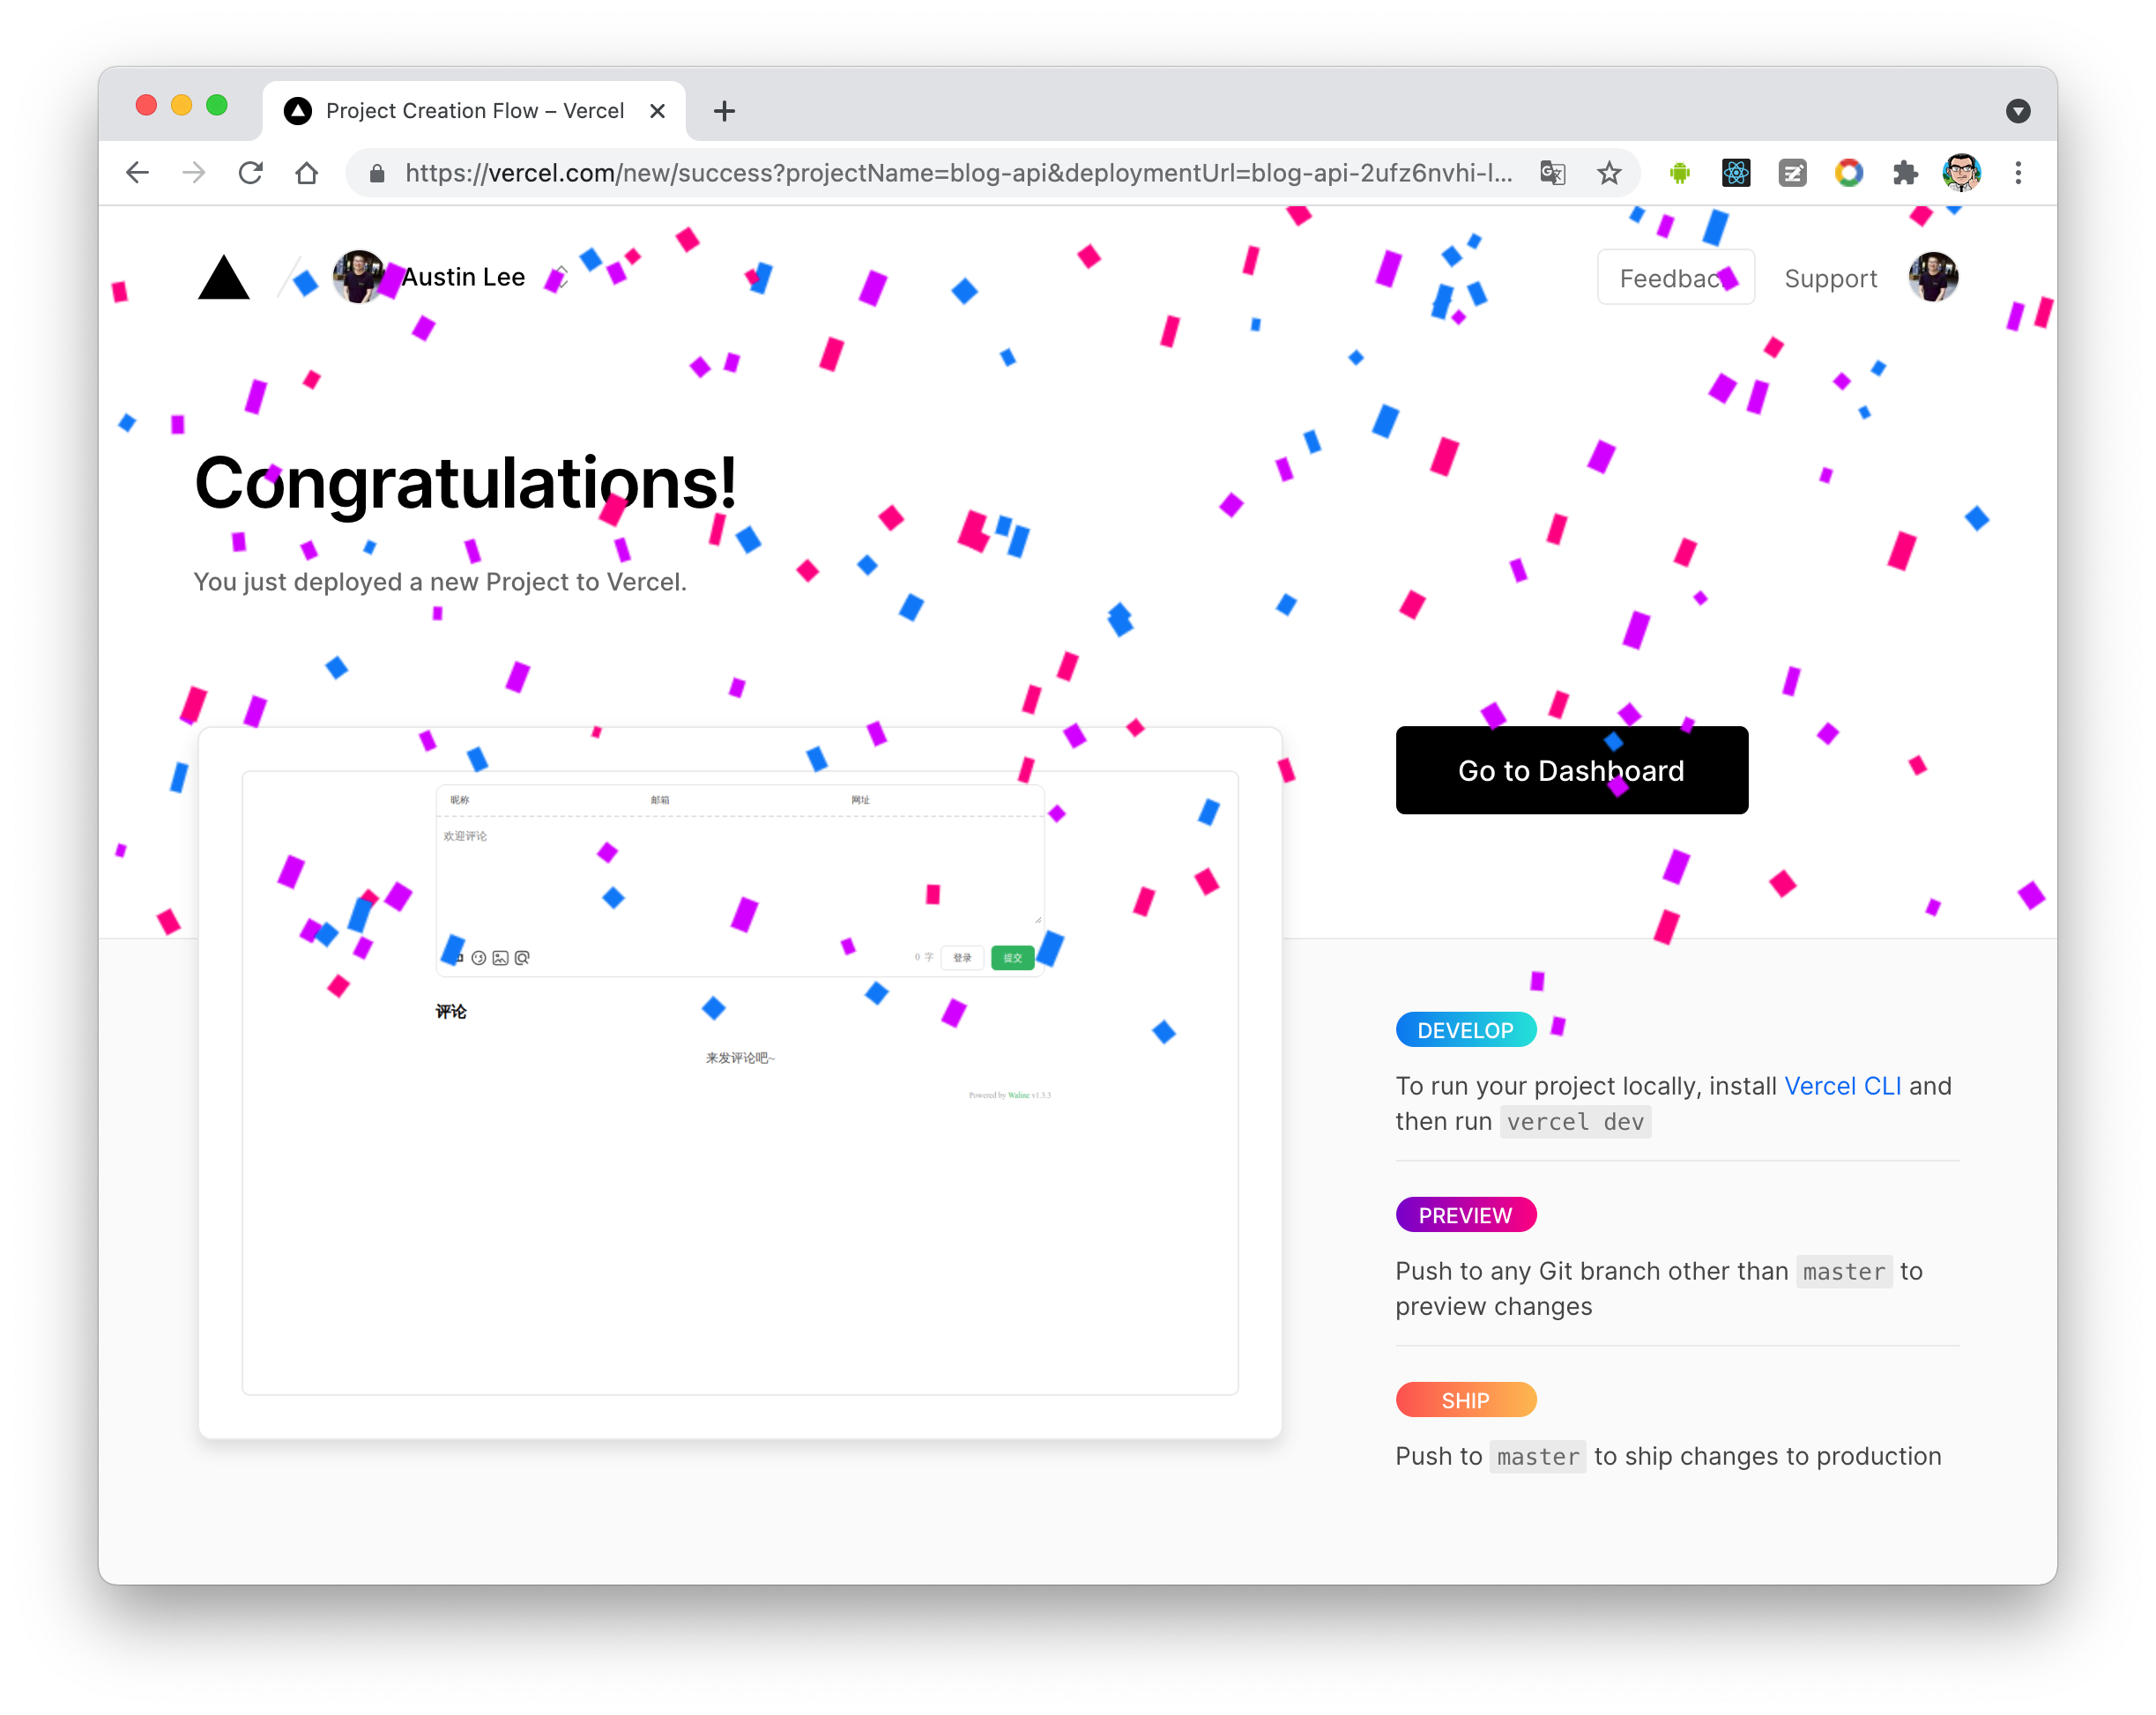
Click
Settingsmenu on the top, andEnvironment Variablesbutton on the side to go to envrionment variables setting page. Then setLEAN_ID,LEAN_KEYandLEAN_MASTER_KEY. The variables’ value should be the ones you got in the previous step.APP IDis the value ofLEAN_ID, andAPP KeytoLEAN_KEY,Master KeytoLEAN_MASTER_KEY.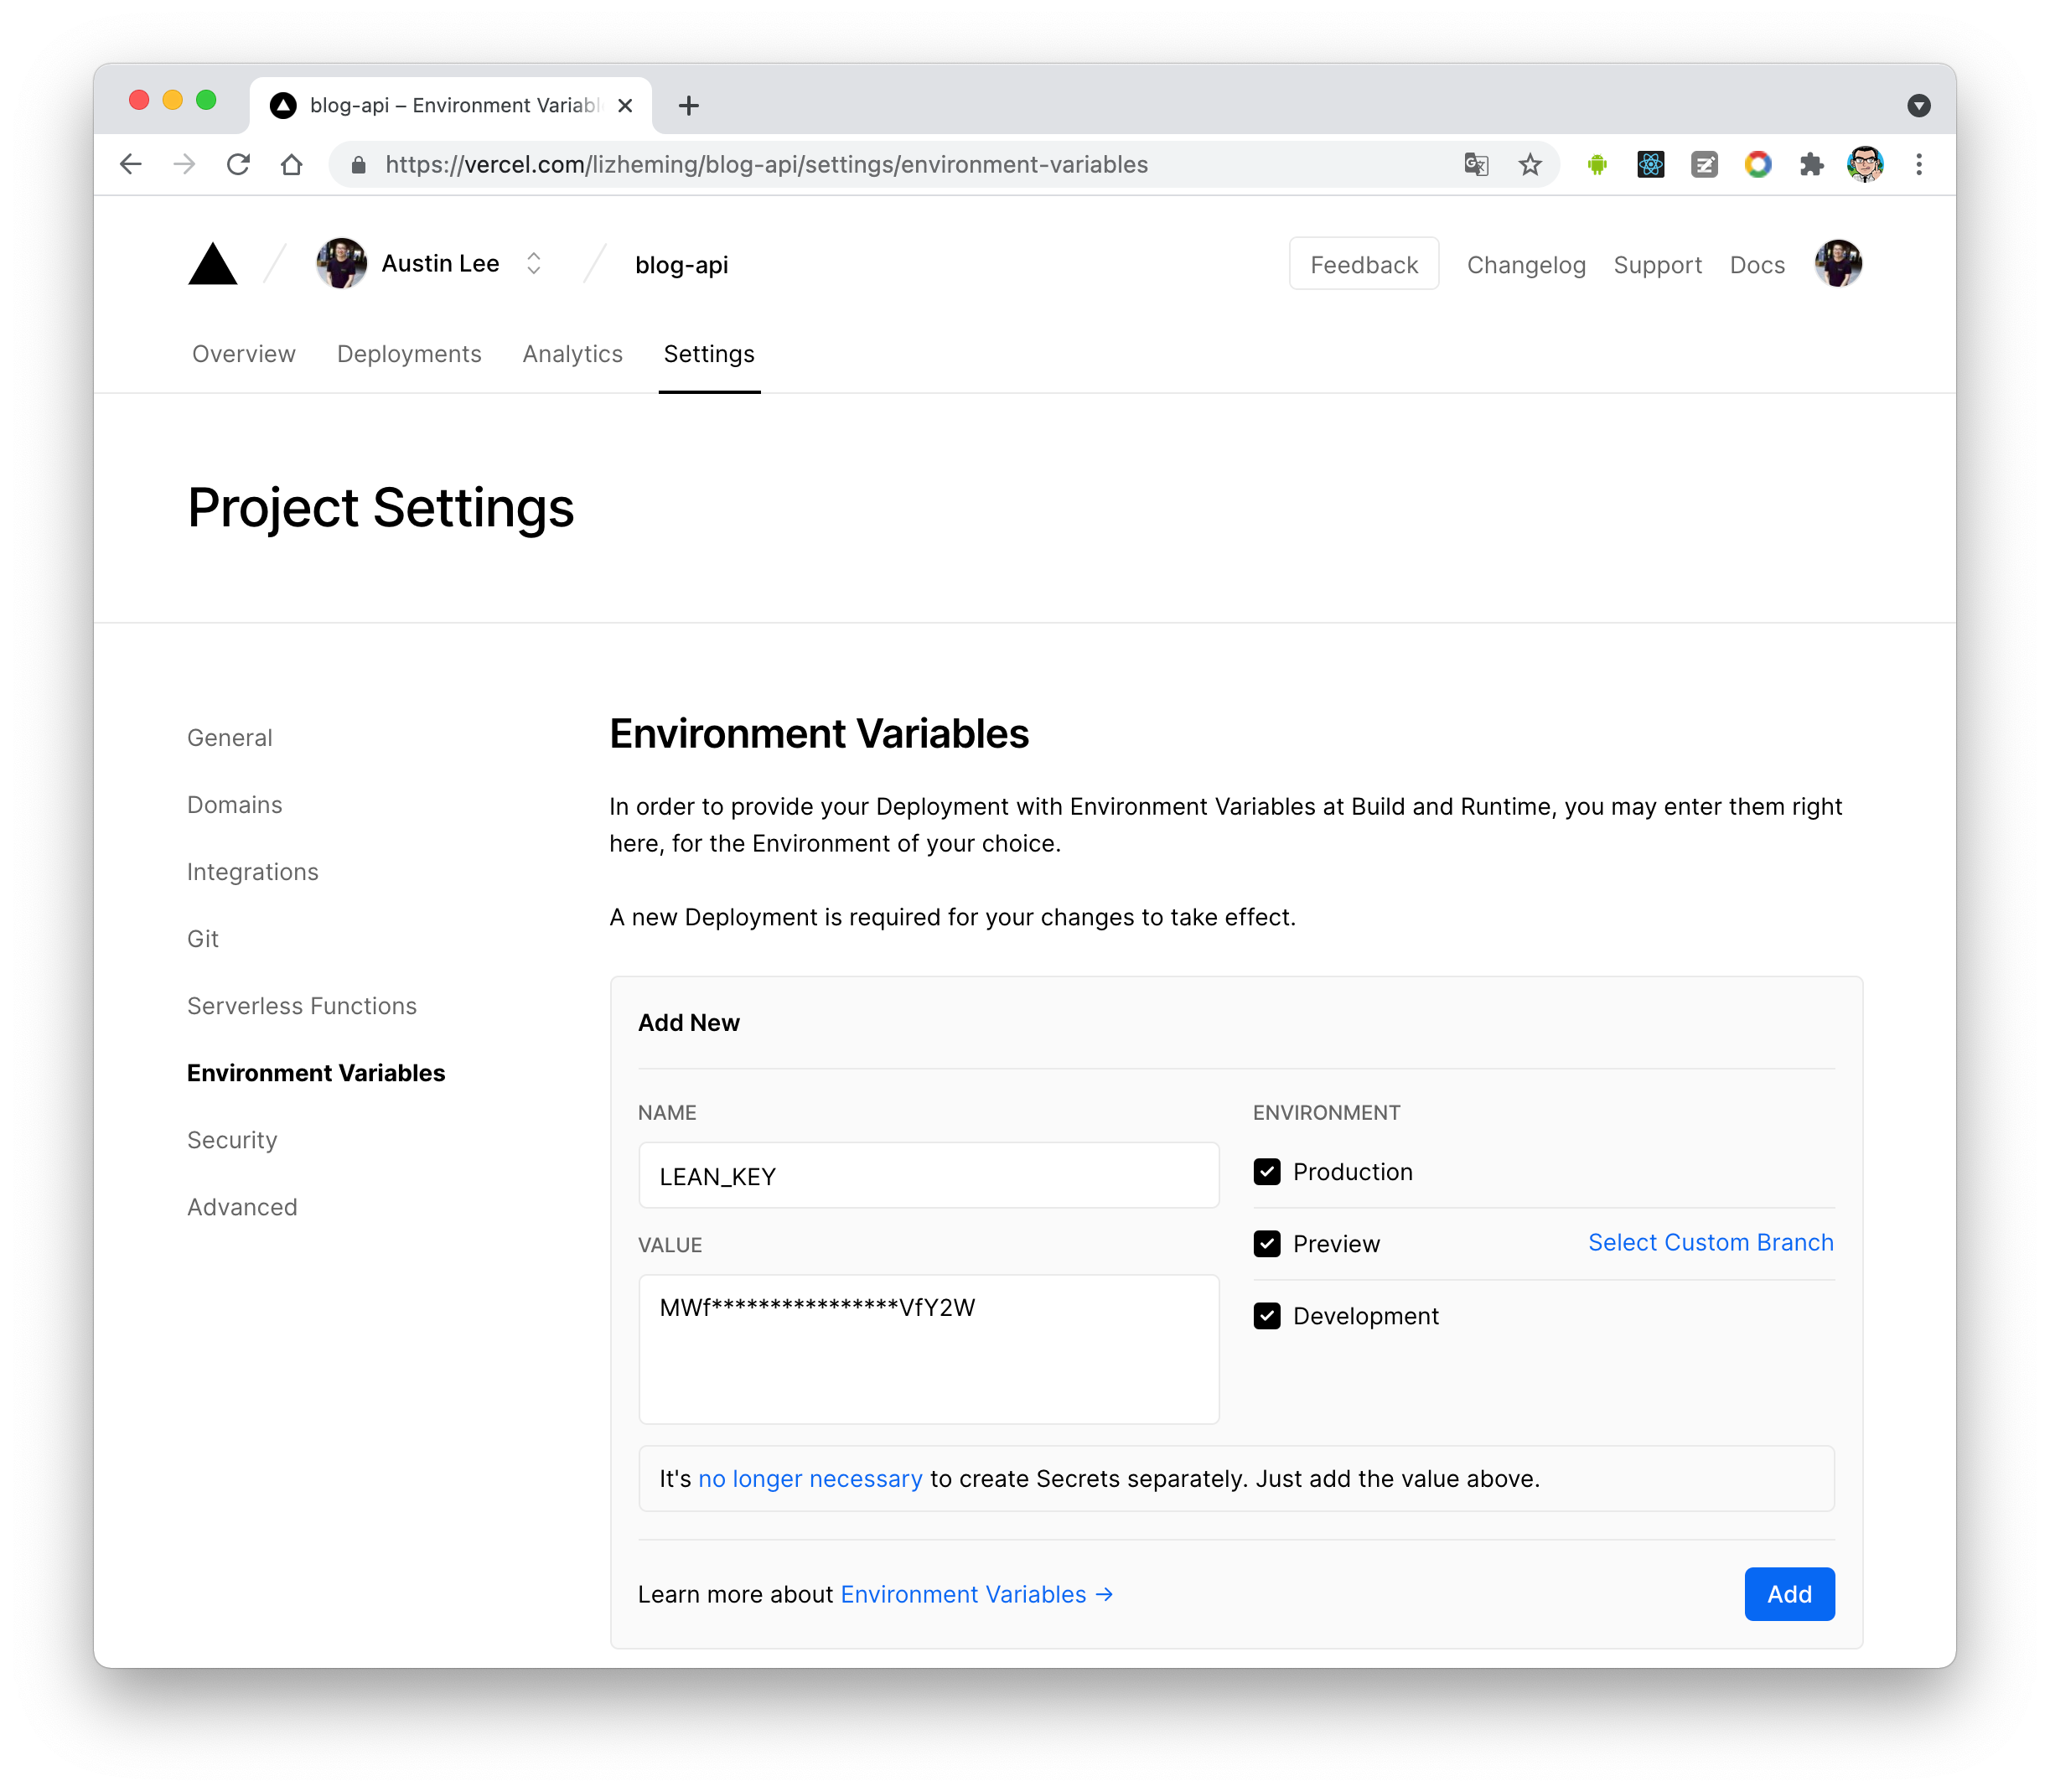
To let your environment variables setting active, you need redeploy your application. Click
Deploymentsmenu on the top and find the latest deployment at the top of list, clickRedeploybutton in the right dropdown menu.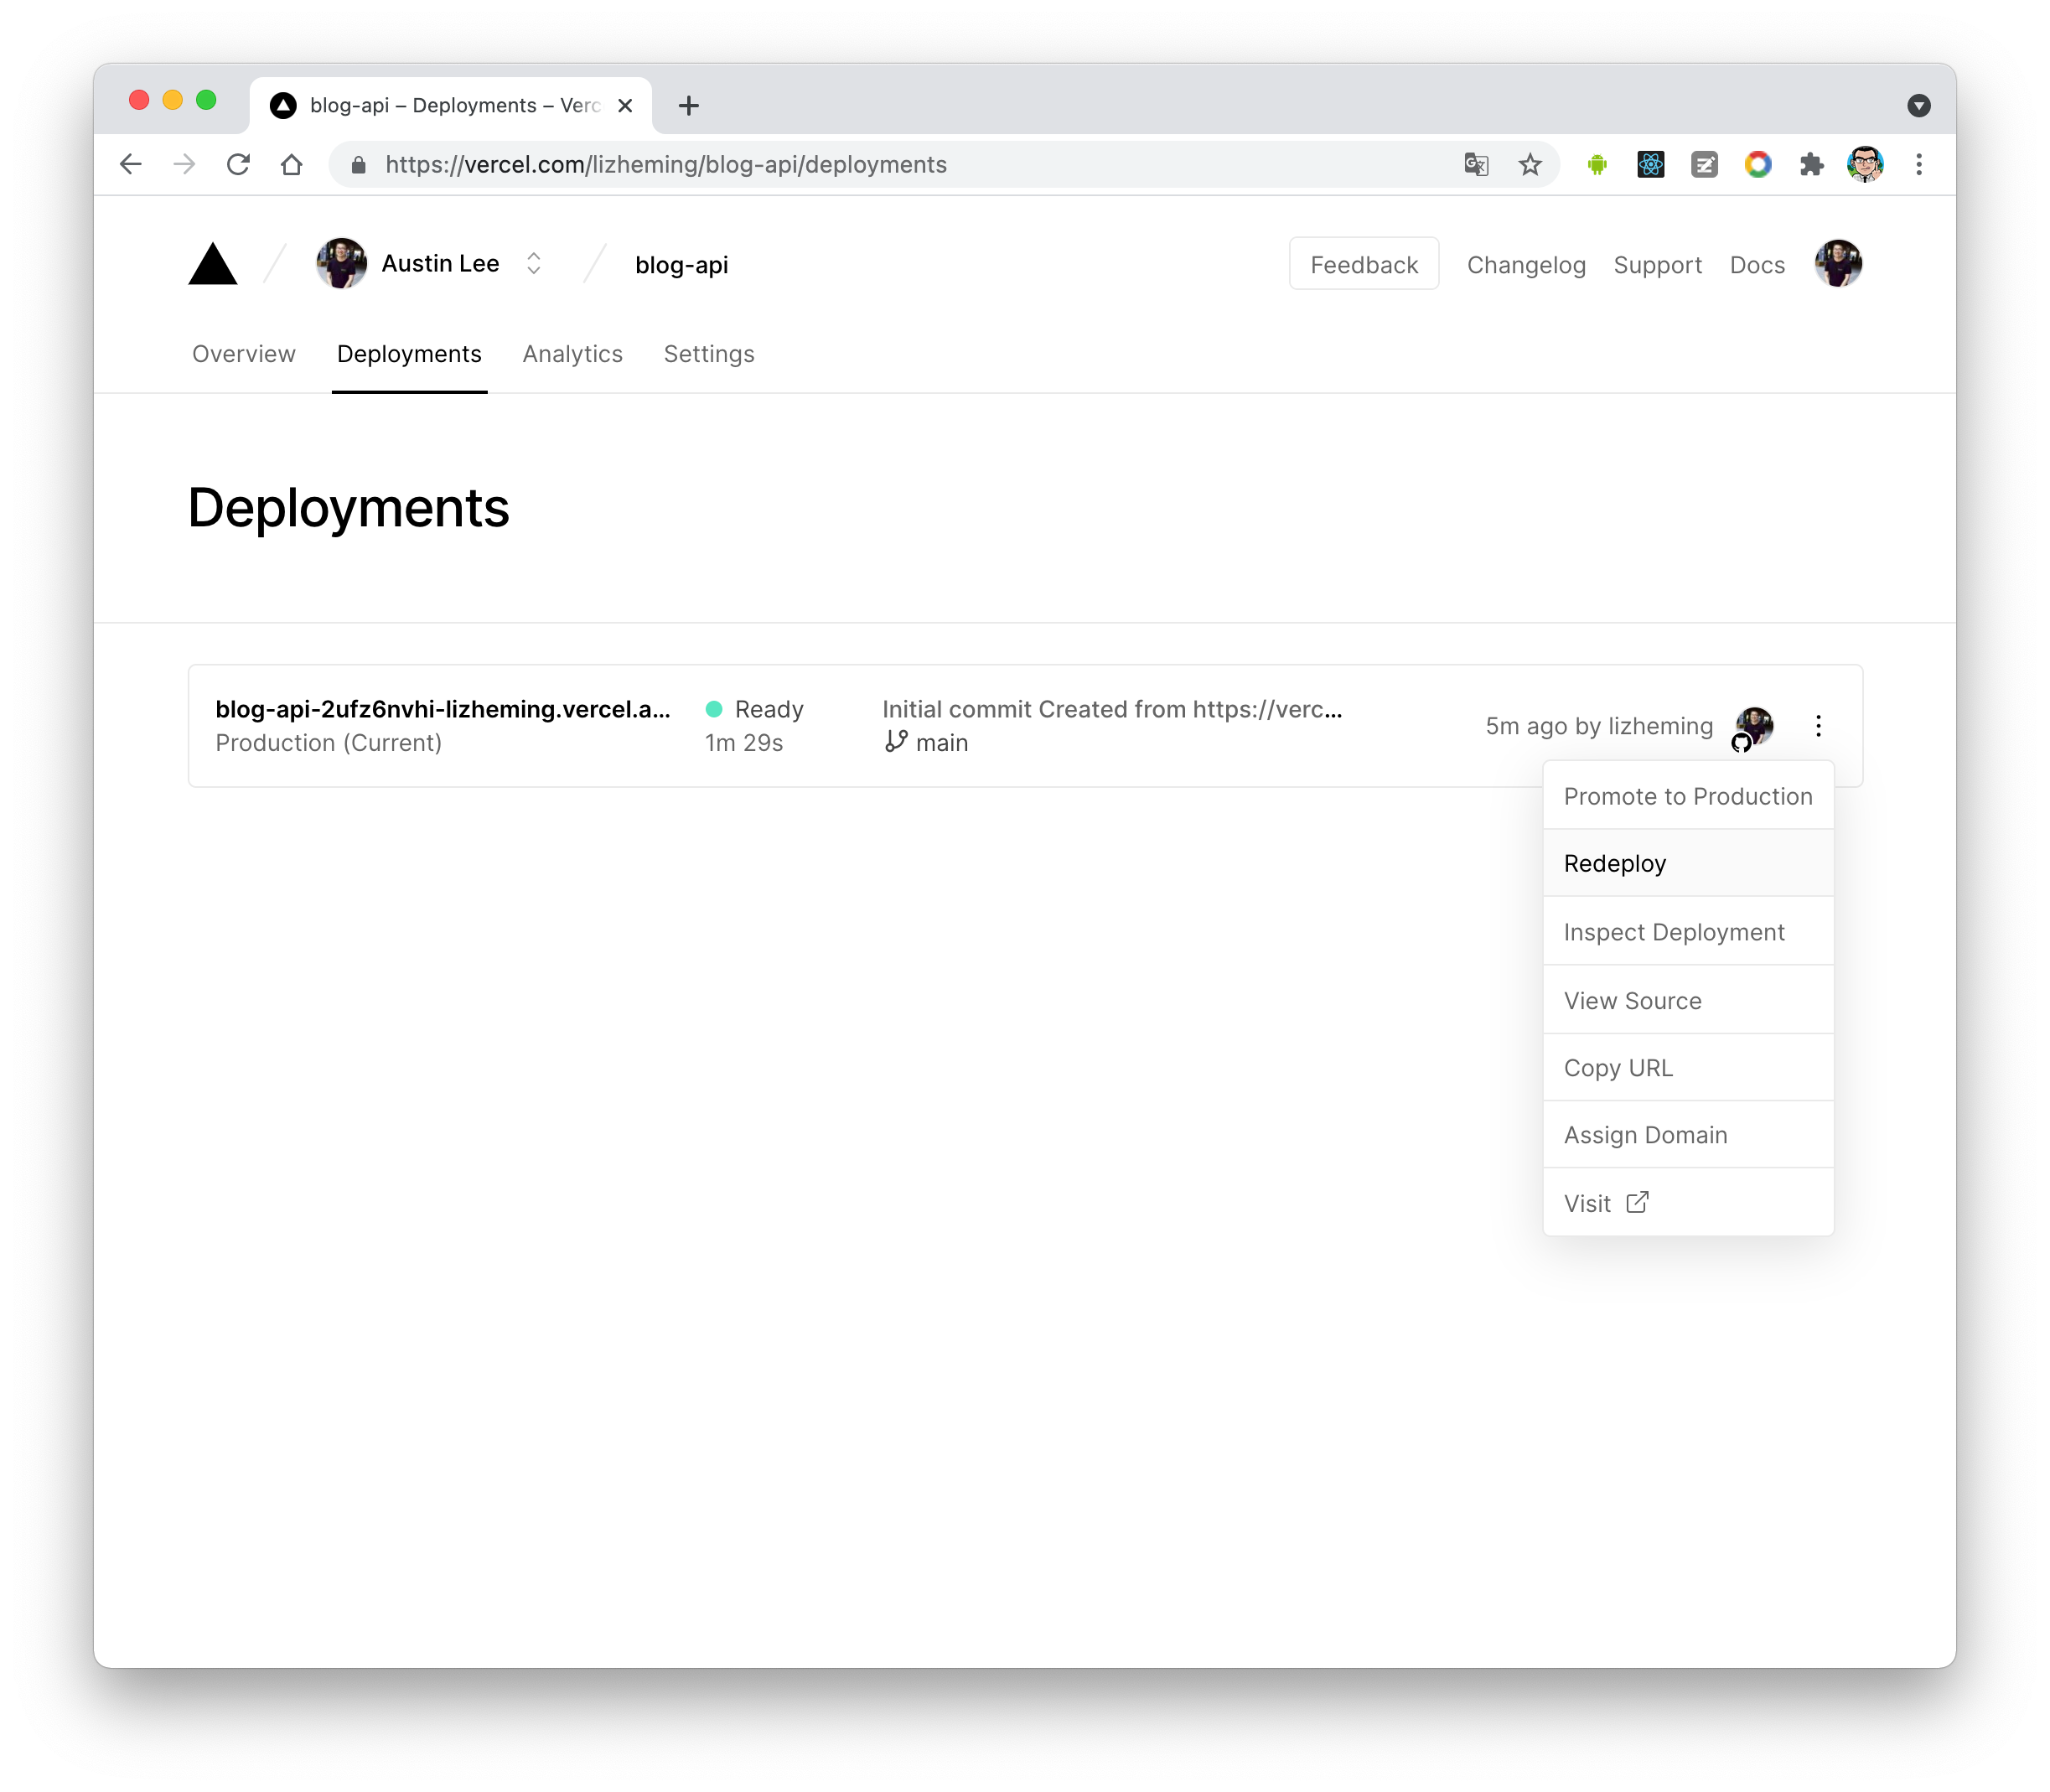
If everything is ok, vercel will redirect to
Overviewpage to start redeployment. Wait a moment theSTATUSwill change toReady. Now you can clickVisitto visit the site. This link is your server address.
# Client
# Using plugin
Set type: "waline" in the plugin options, and set serverURL as the link obtained in the previous step.
Then, place the <CommentService> component at a suitable location in your site (usually at the bottom of the page), you will be able to see the comment box.
Tips
You can also pass in other options supported by Waline (except el).
For details, see Waline Config
# Comment Management
- After the deployment is complete, please visit
<serverURL>/ui/registerto register. The first person to register will be set as an administrator. - After you log in as administrator, you can see the comment management interface. You can edit, mark or delete comments here.
- Users can also register their account in the comment box, and they will be redirected to their profile page after logging in.